Create revenue level
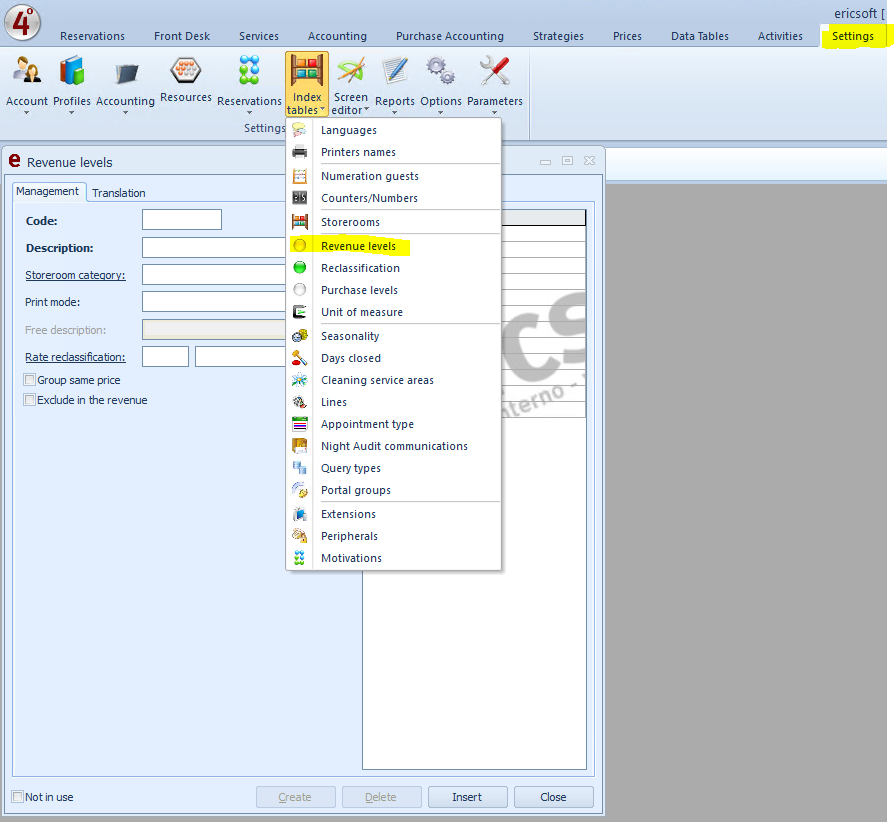
To create new revenue level go to Settings-> Index tables -> Revenue levels
Fields description:
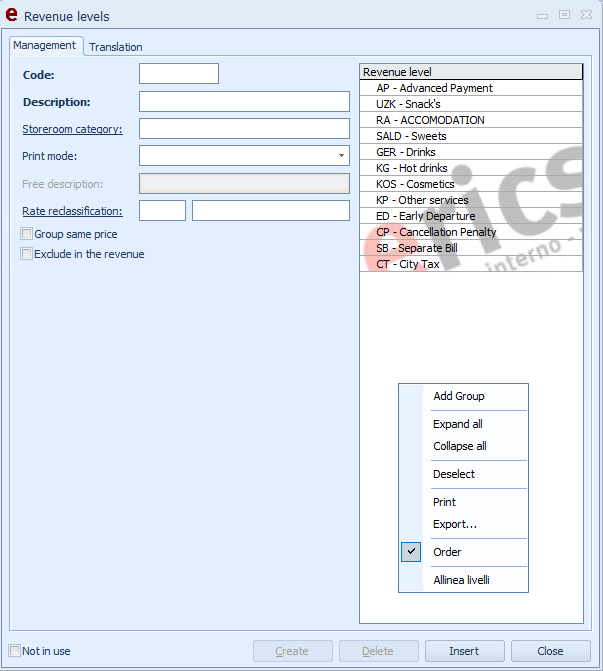
The form is as follows:
On the right side, there is a list of previously created levels.
By right-clicking it is possible to perform the following functions:
Add group : Allows you to insert a new level within the selected group.
Delete group : Allows you to delete the selected level (you can delete the level ONLY IF NOT used in other sections of the management system).
Expand all : Allows you to view the list of all levels.
Collapse all : Allows you to immediately view only the main levels.
Deselect : Allows you to disable the selection, so that you can enter a new level.
Print : It allows to print the list of levels displayed.
Export : Allows you to export the list of levels in * .xls format.
On the left side, there is level information.
Create
Allows the creation of a new level.
Important. It is possible to create a maximum of 4 sublevels (eg Restaurant (1st level) - First (2nd level) - Meat (3rd level) - 4th level).
Note. The level will be created within the selected group.
Example. If you want to create the Top level in the "Restaurant"group, select "Restaurant", click "Create" and define the level information.
Delete
Active if a level in the list is selected, it allows the deletion of the selected element.
Note. It is possible to cancel the level if NOT used in other sections of the management system (eg connected to sales products).
Edit
Active if a level present in the list is selected, it allows saving the changes made.
Close
Allows to close the screen.
[MANAGEMENT]
The section allows the definition of the main information of the level, such as Code, Description, Print Mode, etc.
Code
Indicate the level identification code.
Example. RIS (Restaurant), PRI (Primi), CAN (Cellar).
Note. the field accepts numeric and alphanumeric values, Max. 14 characters.
Description
Indicate the "title" identifying the level.
Example. Restaurant (RIS), Primi (PRI), Cellar (CAN).
Warehouse level
Use the F4 key to recall the warehouse level to which the selected product level corresponds.
Example. The "Wines" product level can be linked to the "Cellar" warehouse level.
Print mode
Select, via the drop-down menu, the mode in which the products connected to the level will be printed:
Date and time: If selected, it will be printed next to each extra Date and Time in which the sales product was charged.
Date: If selected, the date on which the sales product was charged will be printed next to each extra.
Product description: If selected, the description of the single product will be printed, the quantities will NOT be grouped.
Note. If you want to group the sales products, enable the "Group equal price" option.
Level description : If selected, the description of the product level will be printed.
Note. The products charged linked to the same level will be grouped together.
Example. If the "Acqua", "Coca" and "Fanta" products connected to the "Beverages" level have been charged, "Beverages - 3 Q.ty" will be displayed when the account is issued.
Description of previous level : If selected, the description of the main level will be printed. (Item displayed only for child products of the main product, so it is not visible to the first parent product of the others)
Note. The products charged linked to the same level will be grouped together.
Example. If the "Acqua", "Coca" and "Fanta" products connected to the "Bar (1st level)" - "Beverages (2nd level)" level have been charged, "Bar - 3 Q .ta ".
Level date and description : If selected, the date and description of the level will be printed.
Date and free description : If selected, the date and the free description will be printed, inserted in the field below "Free description".
Plan : If selected, the plan of the product charged will be printed.
Free description
The field is active and mandatory only if the " Free description " option has been selected as Print mode .
Summary levels
Call up the previously configured " Level " type reclassification using the F4 key .
When the account is issued, the products linked to the same summary level with relative sub-total will be grouped together.
Example. If the "Beverages" summary level is called up for the "Bar" product level, by issuing the account, all products connected to the same level will be grouped together with a sub-total of the summary level at the end.
Note. Setting the exposure mode of the desired level in the print mode as Description level will issue the account grouped by the summary levels set.
Cash department
Indicate the department of the tax recorder in which to record the debit of the products belonging to the selected group.
Note. The configuration of the cash register departments must be performed by the technician who supplied the recorder.
Example. If the products of the "Bar" level must fall within department 2 of the fiscal recorder, enter the value 2 as "Cash department".
Transfer fee
Use the F4 key to recall the rate you wish to apply in the event of transfer from Table (Risto) to Room (Hotel).
External Code 1,2
The field is active in the case in which the export of accounting documents to the service server station is enabled. Enter the product identification code used by the external accounting program.
Group equal price
If enabled, it allows you to group the products charged with the same price and description .
Example. If you charge 2 "Acqua" products with a value of € 1, "Acqua - Q.tà 2" will be printed when the account is issued; if not enabled the option would be printed "Water - Q.ty 1" twice.
Exclude from production
If enabled, the level will be excluded from the production calculation.
[TRANSLATION]
The section allows the insertion of language translations for the selected product level.
Important. The specified translations will be used when the account is printed if the Type of document used has the Language specified.
[Tongue]
List of possible language translations.
[Translation]
Indicate the language translation of the selected level.

